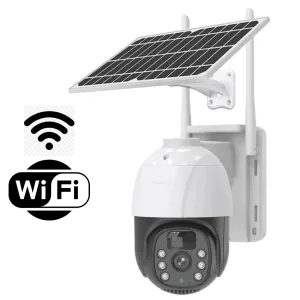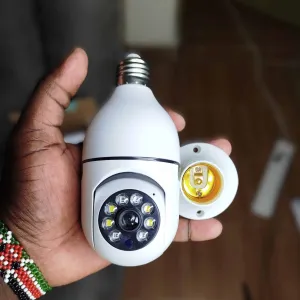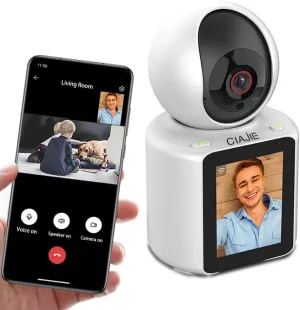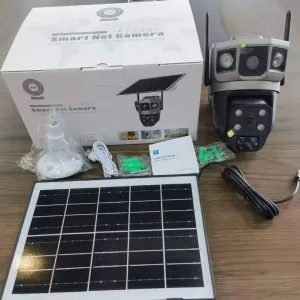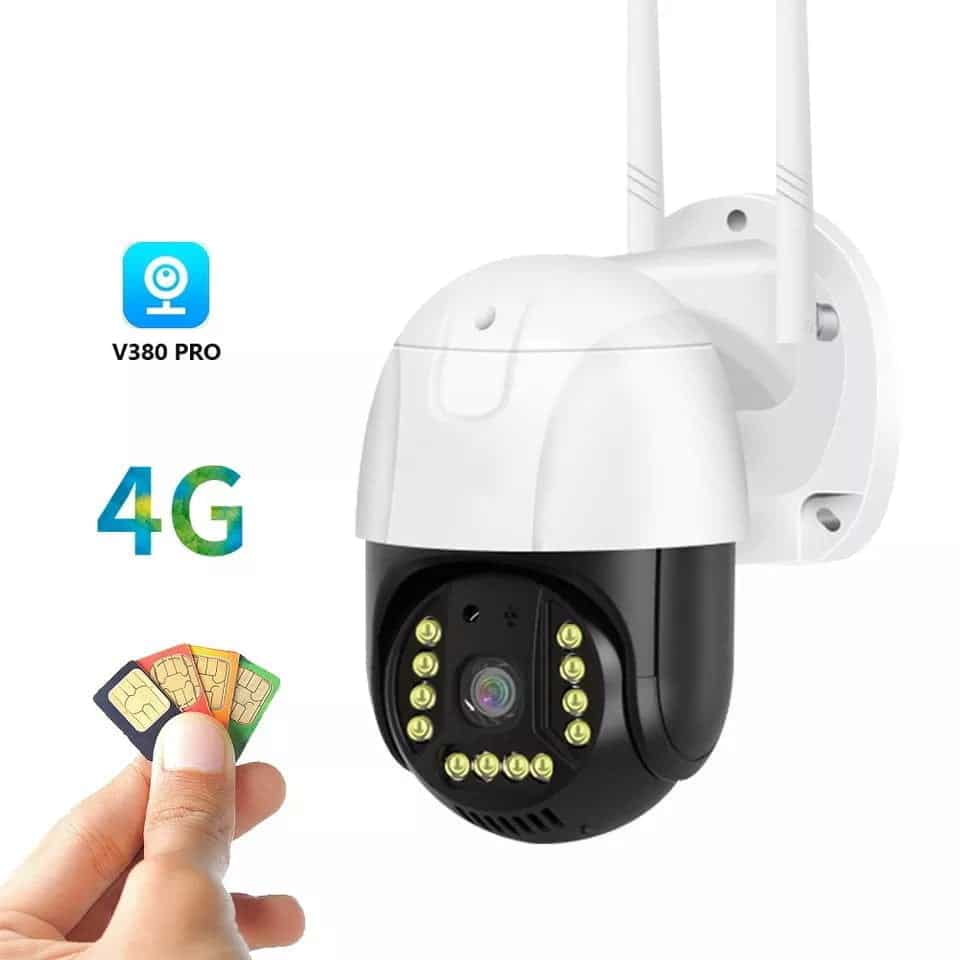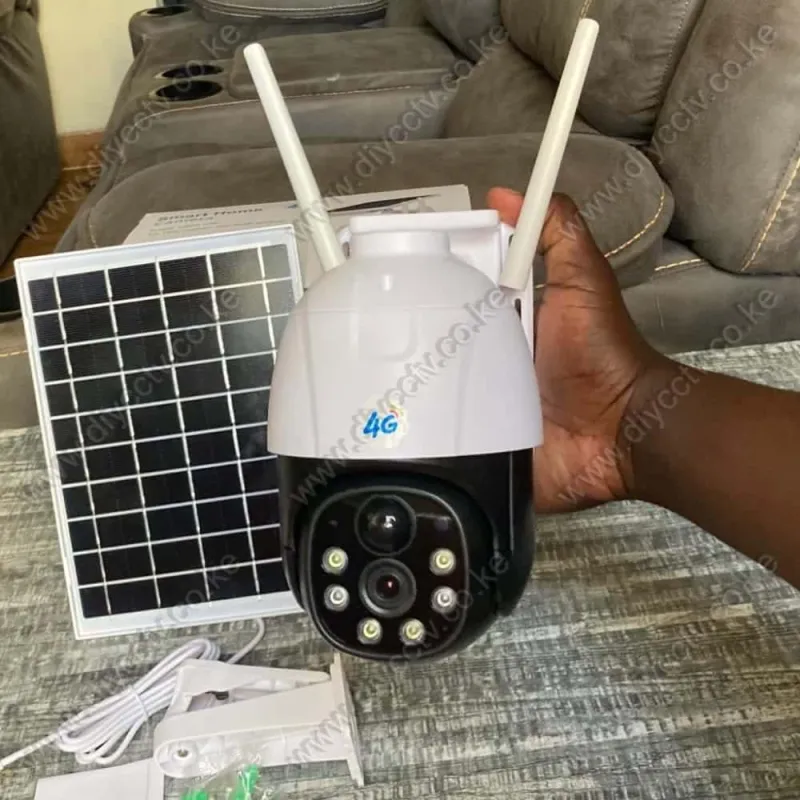
Solar CCTV cameras are built for self-installation. No electrician, no cable run, no drilling for power. With a 4G solar camera you only need a pole or wall, a SIM card with data, and about 30 minutes. Here is the exact process we walk our customers through, whether it is a V380 Pro 4G solar camera or any other solar model.
Before you start: what you need
- The camera with its solar panel and mounting bracket
- A SIM card with an active data bundle (any network with coverage on site)
- A microSD card (64GB or larger, Class 10)
- A phone with the camera’s app installed. V380 Pro for most of our range, or UBOX/StarEye for those brands
- A ladder and a screwdriver
Step 1: Choose the mounting spot
Height beats everything. Mount the camera 2.5 to 3 metres up, angled slightly down, out of arm’s reach, because a camera you can grab is a camera that gets grabbed. Aim it at the choke point: the gate, the store door, the path, the parking spot. Face it away from the setting sun if possible (direct sun into the lens washes out the image at dusk), and keep it clear of branches that will trigger motion alerts in the wind.
Step 2: Mount the camera and the solar panel
Fix the bracket with the supplied screws. The solar panel needs direct sun for most of the day. On several models the panel and camera share a bracket; where they are separate, mount the panel where it gets real sun even if the camera is in shade. Angle the panel toward the equator-facing sky (in Kenya, roughly north-ish exposure works well) and tilt it up enough that rain and dust slide off.
Step 3: Insert the SIM and the memory card
Open the camera’s weatherproof compartment, insert the microSD card (contacts facing in, clicks into place), then the SIM card. Confirm the SIM has an active data bundle before sealing the compartment, because topping up a SIM inside a mounted camera is a ladder job you want to avoid. On 4G models, check the SIM is seated fully. A half-seated SIM is the most common cause of "camera offline" calls we get.
Step 4: Power on and wait for the solar charge
Seal the compartment properly (the rubber gasket is what makes it IP66). Switch the camera on and let it charge from the panel. The first setup is easiest when the battery has some charge, so morning installation is smoother than evening.
Step 5: Pair with the app
In the V380 Pro app (or the camera’s own app): create an account, tap add camera, and scan the QR code on the camera (or enter the camera ID). For WiFi models, enter your WiFi password during pairing. For 4G models, the camera connects over the SIM automatically. If the app asks for a WiFi network, there is usually a "4G mode" or "SIM mode" toggle. Choose it. Within a minute the live view should appear.
Step 6: Set recording and alerts
In the app settings: turn on motion detection, set the notification sound on, and choose recording mode. Motion recording (not continuous) saves card space and, on 4G cameras, data. Format the memory card in the app before first use. Test the alert: walk past the camera and confirm the phone pings within seconds.
Step 7: Test at night and in a week’s time
Check the night view on day one (IR or colour night vision should be clearly visible). Then check the battery behaviour after a full week. If the camera reports low battery in the app on a sunny week, the panel is not getting enough sun. Move it. A camera is only as good as its routine: wipe the panel monthly, and check every few weeks that the card is recording (a full card stops recording on some models until it formats or overwrites).
The mistakes we see most
- Half-seated SIM → camera offline. Seat it fully before sealing.
- Panel in shade → battery drains in days. Move the panel, not the camera.
- Too low → camera stolen with the evidence. Mount out of reach.
- Continuous recording on 4G → data gone in a week. Use motion mode.
That is the whole job. If the camera still will not pair after this, the issue is almost always the SIM or the WiFi signal. And if it is a signal problem, a 4G camera removes the WiFi dependency entirely. Need a camera to install? Browse the full range, and check which 4G solar models we recommend.
Frequently Asked Questions
How long does a solar camera take to install?
About 30 minutes for the whole job: mounting, SIM and card, app pairing. No electrician needed.
Why is my camera showing offline after installation?
In order of likelihood: the SIM is not seated fully, the SIM has no data, the WiFi password was wrong, or the camera is out of WiFi range. For 4G cameras, confirm the SIM slots in completely and the bundle is active.
Do I need an electrician to connect the solar panel?
No. The panel plugs into the camera with its own cable and connector. There is no wiring to a house circuit involved.
Can I install the camera myself if I am not technical?
Yes. The pairing is QR-code based and the app guides you. If you get stuck, our team helps with setup questions after purchase, and this guide covers the common pitfalls.